
Getting Accurate Readings from Health Wearables: Fit, Placement, and Usage Habits
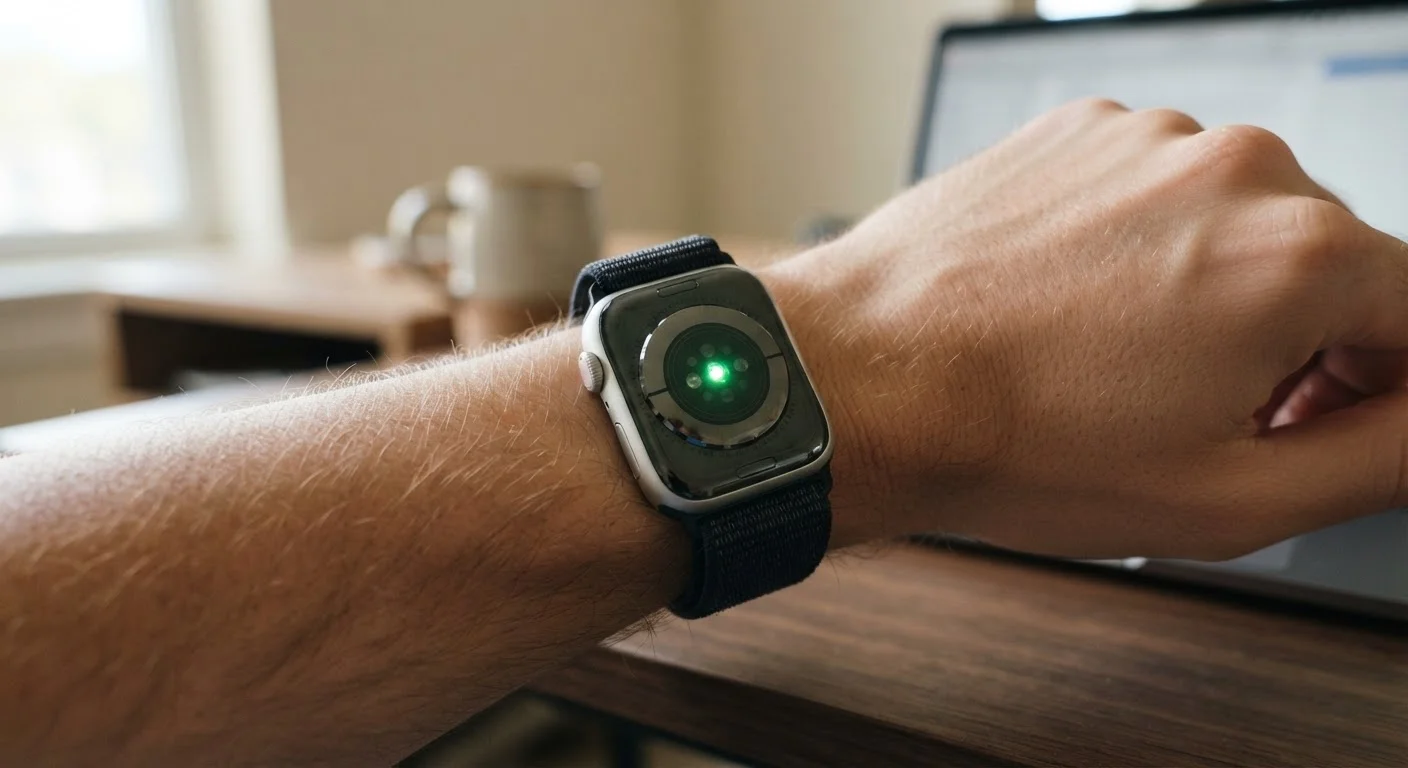
Photo credit: GadgetLite.net | All Things Tech
In this article
A poorly worn tracker gives poor data. These practices around fit, placement, and routine help you get the most reliable readings from your device.
Key Takeaways
- Sensor placement and snugness directly determine how accurate your wearable's readings are.
- Most optical heart rate sensors need consistent skin contact — too loose or too tight both cause errors.
- Wearing position matters: wrist location, dominant vs. non-dominant hand, and activity type all affect data.
- Consistent wear habits — same wrist, same position, same timing — improve trend accuracy over time.
- Calibrating your device with verified personal data (like a known resting heart rate) sharpens its baseline.
Why Your Wearable's Accuracy Starts Before You Press a Button
Health wearables have improved dramatically, but the data they produce is only as reliable as the conditions under which they collect it. Sensor technology — whether optical heart rate, SpO2 (blood oxygen), or skin temperature — depends on stable, consistent skin contact. Before any algorithm processes your metrics, the hardware has to receive a clean signal.
Most accuracy problems aren't device failures. They're fit and habit failures. Understanding how these sensors work gives you a practical edge in getting data you can actually trust. For a broader look at how wearable features are validated, see which health metrics have real research behind them.
Wear the device one to two finger-widths above the wrist bone during activity, and directly on the wrist bone at rest.
Moving the sensor slightly up the forearm during exercise reduces motion artifacts — signal noise caused by wrist movement — while the wrist bone position offers the most stable skin surface at rest. Most manufacturers publish this recommendation, but it's frequently ignored.
Fasten the band snugly enough that the sensor doesn't shift, but not so tight that it restricts blood flow.
Optical heart rate sensors emit light into the skin and measure how blood absorbs it. A loose band lets ambient light interfere; an overly tight band compresses capillaries and distorts the signal. Both produce inaccurate readings.
Always take resting metrics — heart rate, SpO2, HRV — after sitting still for at least five minutes.
These readings are highly sensitive to recent physical activity. Even walking from another room can elevate your heart rate enough to skew a baseline reading. Devices that auto-sample passively can't control for this, so manual readings under controlled conditions are more useful for tracking trends.
Enter accurate personal data — height, weight, age, sex — during setup and update it when details change.
Many wearable algorithms use biometric baselines to calibrate calorie estimates, VO2 max approximations, and sleep stage detection. Stale or incorrect profile data introduces systematic error across multiple metrics.
Clean the sensor lens and your skin contact point regularly.
Sweat residue, lotion, and debris can partially block the optical sensor or create a physical gap between the sensor and your skin. This is a common and overlooked source of intermittent reading errors.
Select the correct activity mode before starting a workout.
Most wearables adjust their sampling rate and motion-compensation algorithms based on the activity type selected. Running mode samples more frequently than a general activity mode; swim mode disables some optical sensors and relies more on accelerometer data. Using the wrong mode reduces accuracy.
Fit, Placement, and Timing: The Core Variables
Getting accurate readings consistently comes down to three controllable factors: how tight the band is, where on your wrist the device sits, and when you take readings relative to activity. Each of these interacts with the others.
Use Your Non-Dominant Wrist Consistently
Most devices default to non-dominant wrist settings because that arm typically moves less during everyday tasks, reducing motion noise in the data. If you switch wrists — even occasionally — update the setting in your companion app each time. Mismatched settings can throw off step counts and calorie estimates by a meaningful margin.
For sleep tracking specifically, placement consistency matters even more — motion artifacts during sleep can skew stage readings significantly. The guide to interpreting wearable sleep data covers how to reduce that noise.
If you're deciding between a sport-focused device and an everyday wellness tracker, placement recommendations can differ. Athletic and wellness wearables have different sensor priorities, which affects where and how they should be worn.
Building Habits That Protect Data Quality
Individual readings matter less than trends — and trends require consistent conditions. Wearing your device on the same wrist, in the same position, at the same time each day gives the device's algorithms a stable baseline to work from.
Consistency also means knowing what disrupts your data. Heavy exercise, cold weather, caffeine, and certain skin conditions all affect sensor performance. Logging these variables — even informally — helps you spot why a reading looks unusual. For more on building sustainable device habits, daily wearable habits that hold up long-term is worth reading alongside this guide.
Wearables Are Not Medical Devices
Consumer health wearables are designed to track trends and general wellness indicators, not to diagnose medical conditions. Readings that concern you — unusually low SpO2, irregular heart rhythm alerts, or persistent elevated resting heart rate — should be discussed with a qualified healthcare provider, not acted on solely based on device output. Understanding which features are clinically validated helps set realistic expectations for what your device can reliably tell you.
Health wearables generate a lot of data, but long-term tracker use comes with real trade-offs — including accuracy caveats worth understanding before relying on the numbers.

Author
Releases Editorial Team
Releases Editorial Team is the collective byline for our editorial team and contributor network. Articles published under this byline or an editorial pen name are researched, written, and reviewed according to our editorial standards for clarity, consistency, and independence before publication.
View all articles →