
Setting Up a Home Network From Scratch
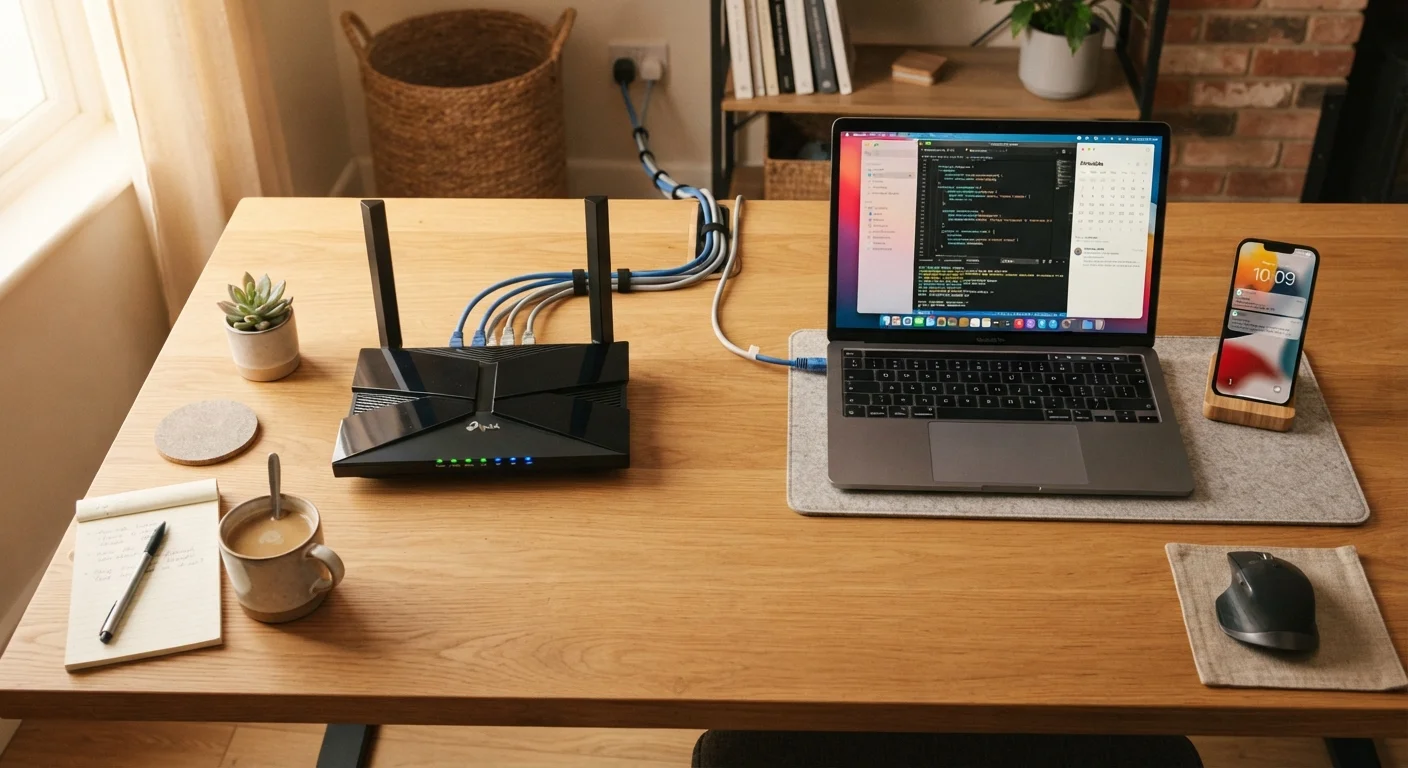
Photo credit: GadgetLite.net | All Things Tech
In this article
Never set up a home network before? This beginner-friendly walkthrough covers everything from plugging in your router to connecting all your devices.
Key Takeaways
- Your modem connects to your internet provider; your router shares that connection with your devices.
- Placing your router in a central, open location improves Wi-Fi coverage throughout your home.
- Changing your default Wi-Fi name and password is one of the most important security steps you can take.
- Most modern routers offer a setup app that walks you through the process step by step.
- Wired ethernet connections are faster and more reliable than Wi-Fi for stationary devices like desktop PCs.
What You'll Need Before You Start
Before you plug anything in, it helps to know what you're working with. Home network setup requires just a handful of components, and understanding each one saves you from unnecessary confusion later. For a deeper look at how these pieces fit together, see our guide to routers, modems, and what they actually do.
Modem
A device that connects your home to your internet service provider's network, translating the signal from outside into something your home devices can use.
Router
A device that takes the internet connection from your modem and shares it across multiple devices in your home, both wired and wirelessly.
WAN port
The Wide Area Network port on your router - this is where you plug in the cable coming from your modem to bring internet into the router.
SSID
The name of your Wi-Fi network that appears when someone searches for available connections on their device.
Firmware
Built-in software that controls how your router operates. Keeping it updated helps fix bugs and close security vulnerabilities.
Guest network
A separate Wi-Fi network your router can broadcast for visitors or secondary devices, keeping them isolated from your main devices.
In practical terms, you'll need:
- An active internet service plan from a provider
- A modem (often supplied by your provider)
- A router (sometimes combined with the modem in one unit)
- An ethernet cable for the initial modem-to-router connection
- A phone, tablet, or computer to complete setup
Check whether your provider gave you a combo modem-router unit. If so, you're already one step ahead - you just need to activate and configure it.
Connecting Your Modem and Router
Start by placing your modem near the cable or phone outlet your provider designated. Plug one end of the ethernet cable into the modem's output port (usually labeled LAN or Ethernet Out) and the other end into the router's WAN or Internet port - this is typically a different color from the other ports on the back.
Power on the modem first and wait about 60 seconds for it to fully connect to your provider's network. Then power on the router. Watch the indicator lights: most routers show a stable internet light once they've successfully received a connection from the modem.
Router placement makes a big difference
Position your router in a central, open area of your home - on a shelf or desk rather than inside a cabinet or on the floor. Walls, especially brick or concrete ones, noticeably reduce signal strength. A better starting position can save you from needing extra hardware later.
If you're using a combined modem-router unit, you'll only have one device to set up. Simply plug it into the wall outlet your provider specified, connect power, and wait for the status lights to stabilize before moving on.
Setting Up Your Wi-Fi Network
With hardware connected, it's time to name your network and set a password. Most modern routers include a setup app - check the documentation in the box for the app name and a QR code to download it. Alternatively, you can use a browser-based setup by typing the router's IP address directly into your browser's address bar.
During setup you'll be asked to create an SSID (your network's name) and a password. Choose a name that doesn't reveal personal information, and pick a strong password - a mix of letters, numbers, and symbols works well. Avoid using the factory default network name, which can signal to others that your router hasn't been properly configured.
Many routers offer both a 2.4 GHz and a 5 GHz band. The 2.4 GHz band covers a wider area but at slower speeds; 5 GHz is faster but has a shorter range. You can name them the same or differently - either approach is fine.
Connecting Your Devices
Once your Wi-Fi network is live, connecting devices is straightforward. On any phone, laptop, or tablet, open the Wi-Fi settings, find your new network name, tap it, and enter the password you just created. For smart TVs, streaming sticks, and game consoles, the process is nearly identical through their own settings menus.
For desktop computers or any device that stays in one place, consider running an ethernet cable directly from the router. Wired connections are more reliable for video calls, gaming, and large file transfers.
If you're planning to add smart home devices down the road, our beginner's guide to smart home setups walks through how to connect those without overcomplicating things. More general device setup tips are also covered in our first-timer's unboxing and setup walkthrough.
Simple Steps to Keep Your Network Secure
A home network is only as safe as its weakest setting. A few quick changes make a meaningful difference:
- Change the default admin password on your router - not just the Wi-Fi password, but the login used to access the router's settings page itself.
- Keep router firmware updated. Most modern routers check for updates automatically, but it's worth confirming this is enabled in your settings.
- Create a guest network for visitors and smart home devices. This keeps them separate from your main devices, limiting exposure if one gets compromised.
Never skip changing the default password
Routers ship with default admin usernames and passwords that are publicly documented online. Leaving these unchanged means anyone who accesses your network could also access your router's settings. Change both the admin credentials and the Wi-Fi password before calling setup complete.
Once your setup is solid, you might want to explore more about how your network actually works end to end - our complete home network guide covers everything from your provider's infrastructure all the way to the devices in your home.
Frequently Asked Questions

Author
Cloud Editorial Team
Cloud Editorial Team is the collective byline for our editorial team and contributor network. Articles published under this byline or an editorial pen name are researched, written, and reviewed according to our editorial standards for clarity, consistency, and independence before publication.
View all articles →