
Making the Most of a New Phone's Camera Without Changing Any Settings
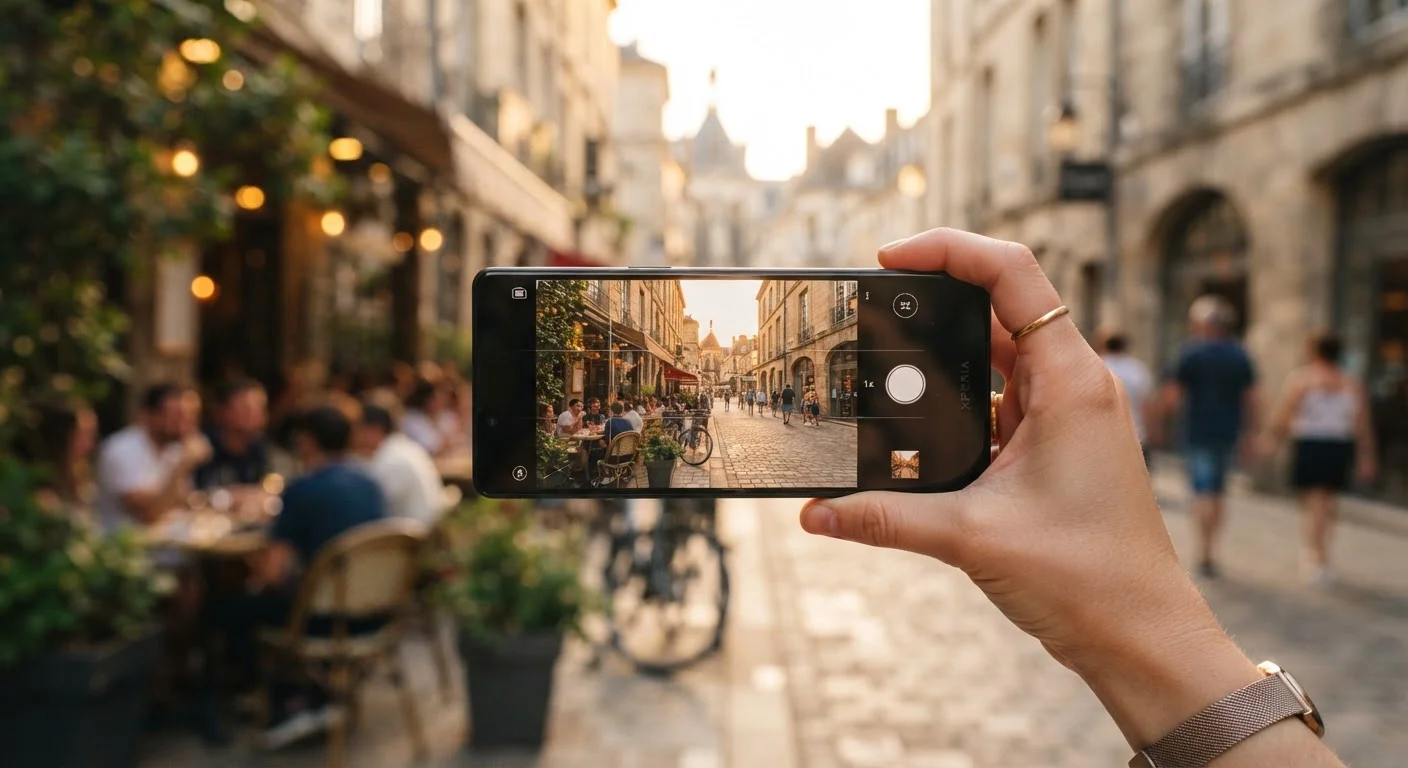
Photo credit: GadgetLite.net | All Things Tech
In this article
Modern smartphone cameras are capable straight out of the box. These habits and techniques get better results without touching a single menu.
Key Takeaways
- Lighting is the single biggest variable you control without touching any camera menu.
- Tapping to focus and expose correctly takes one second and dramatically sharpens results.
- Holding the phone steady — or bracing against a surface — reduces blur without any setting changes.
- Shooting in natural light and avoiding digital zoom are habits that pay off immediately.
- Understanding what the default camera app already does automatically helps you work with it, not against it.
Why Defaults Are Better Than You Think
Today's flagship and mid-range phones ship with computational photography systems that process every frame before you even see it. Noise reduction, HDR (high dynamic range) blending, and automatic scene detection run in the background the moment you open the camera app. The default Auto mode isn't a dumbed-down fallback — it's the result of years of machine-learning tuning on millions of real-world images.
That means the most impactful improvements available to most users aren't buried in menus. They're about how you position yourself, how you handle the phone, and when you decide to press the shutter. Megapixel counts and aperture specs tell only part of the story — real-world results come from the person holding the camera.
Always tap the screen to set focus and exposure before shooting.
The camera's auto-focus defaults to the center of the frame, which rarely matches your actual subject. Tapping directly on your subject tells the camera what to prioritize for both sharpness and brightness, preventing blown-out highlights or muddy shadows.
Get as close to good light as possible before composing the shot.
Camera sensors collect light; more light means less processing needed, which preserves detail and reduces artificial-looking noise. Natural, even light — such as open shade or a north-facing window — is almost always better than direct harsh sun or indoor artificial lighting.
Brace the phone or use both hands to eliminate camera shake.
Even minor hand movement during the fraction of a second the shutter is open creates blur that software sharpening cannot fully recover. This matters most in low light, when shutter speeds slow down. Tucking your elbows against your body or resting the phone on a surface eliminates most motion blur entirely.
Avoid using digital zoom — walk closer or reframe instead.
Most phones offer optical zoom up to a certain magnification, then switch to digital zoom, which simply crops and enlarges the image and discards pixel data. The resulting photo looks noticeably soft compared to an optically zoomed or physically closer shot.
Use the volume button or a slight delay after pressing the shutter to avoid self-induced shake.
Pressing the on-screen shutter button can physically jolt the phone at the exact moment of capture. Using a volume button as a shutter release keeps a more natural grip, and using the self-timer (even a 2-second delay) removes contact entirely for tripod shots.
Clean the lens before any session that matters.
Pocket lint, fingerprint oil, and skin residue accumulate on the lens surface and scatter light, causing haze, reduced contrast, and rainbow-colored flare. A quick wipe with a soft cloth takes three seconds and is consistently one of the highest-impact improvements available.
The Habits That Actually Move the Needle
None of the practices below require opening a settings menu. They work with what the camera app is already doing automatically, and most take effect the first time you try them.
Once these habits feel natural, you may find yourself curious about what deliberate setting changes could unlock. If so, the camera controls most people skip are worth exploring as a logical next step.
Understanding What the Camera App Is Doing for You
Modern camera apps make dozens of micro-decisions per second. Scene recognition distinguishes food from landscapes and adjusts contrast and saturation accordingly. Night mode detects low-light conditions and automatically stacks multiple exposures to reduce grain. Portrait mode uses depth sensors or software analysis to separate subject from background.
10+
Frames blended in a single Night mode capture
Most current flagship camera systems combine multiple exposures in Night mode to reduce noise and recover shadow detail, often processing more than ten frames per shot.
3–5x
Typical optical zoom range on modern phones
Many phones now ship with telephoto lenses offering 3x to 5x optical zoom; quality drops noticeably beyond the optical ceiling when digital zoom takes over.
Knowing this helps you cooperate with the system. Holding still for an extra beat during Night mode lets the multi-frame capture complete cleanly. Moving the subject slightly closer when using Portrait mode gives the depth algorithm cleaner data to work with. These aren't workarounds — they're the intended workflow.
For broader context on what to expect from a new device in its first days of use, the first-week setup guide covers practical orientation beyond the camera. And if you transferred photos from an older device, the migration walkthrough explains how to make sure nothing got left behind.
Auto Mode Isn't the Same Across All Phones
Different manufacturers tune their default camera apps differently. One brand's Auto mode may apply heavier sharpening or more saturated colors than another's. The practices here apply universally, but your specific phone's default rendering style is a deliberate choice by the manufacturer. Exploring your phone's camera hub can help you understand what's typical for your device category.

Author
Releases Editorial Team
Releases Editorial Team is the collective byline for our editorial team and contributor network. Articles published under this byline or an editorial pen name are researched, written, and reviewed according to our editorial standards for clarity, consistency, and independence before publication.
View all articles →