
Getting a New Phone Up and Running Without Losing Anything
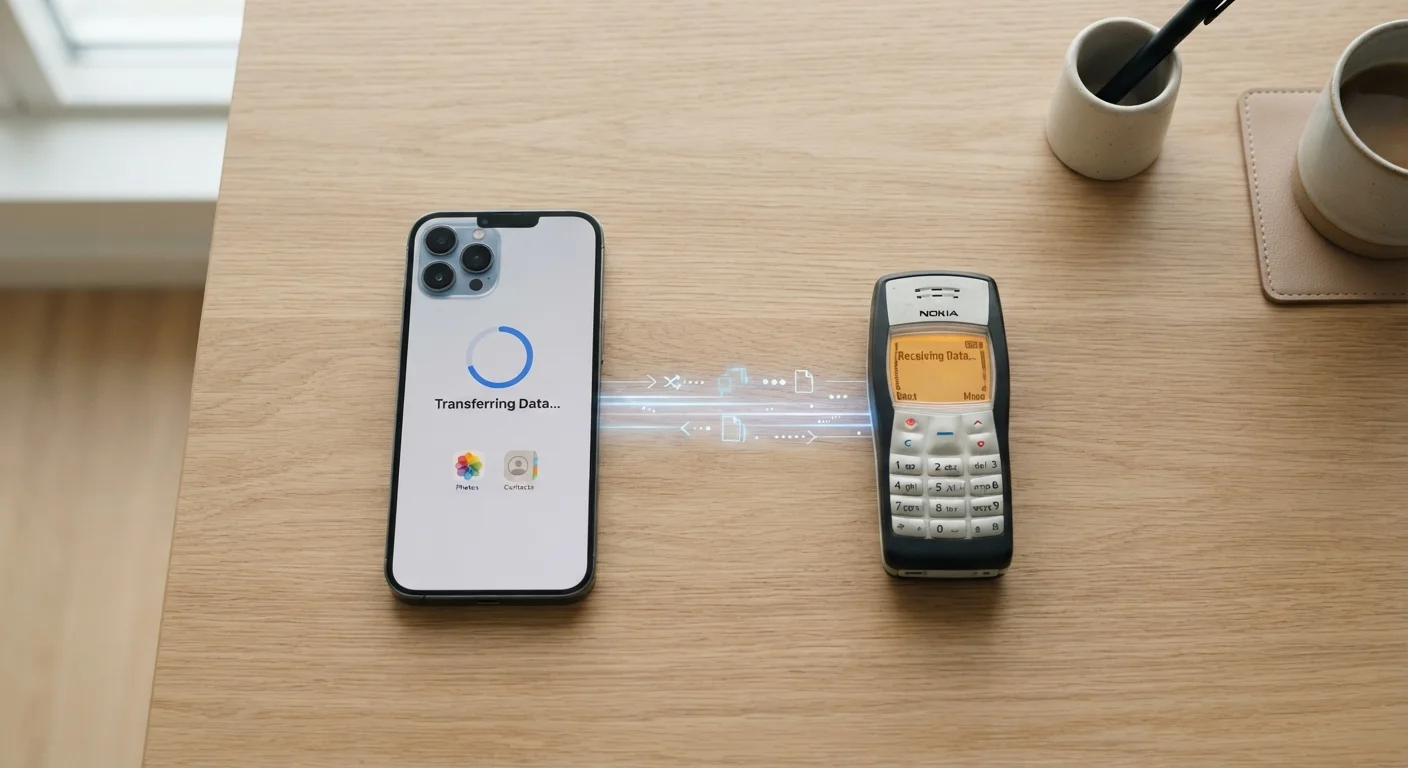
Photo credit: GadgetLite.net | All Things Tech
In this article
Contacts, photos, app settings, and authenticator apps don't transfer themselves. A step-by-step walkthrough for a smooth device migration.
Key Takeaways
- Back up your old phone before doing anything else — everything else depends on it.
- Authenticator apps require manual migration and can lock you out if handled incorrectly.
- Same-ecosystem transfers (Android-to-Android, iPhone-to-iPhone) are faster and more complete.
- Photos, contacts, and app data each follow different paths and need separate attention.
- A few minutes of prep on the old phone prevents hours of recovery on the new one.
Why Phone Migrations Go Wrong
Most data loss during a phone upgrade isn't caused by a technical failure — it's caused by assuming that everything transfers automatically. It doesn't. Contacts and photos are generally well-protected by cloud sync, but app-specific data, SMS history, Wi-Fi passwords, and two-factor authentication codes each require deliberate action.
The gap is widest when switching ecosystems. Moving from Android to iPhone, or vice versa, means leaving behind platform-specific backup formats and rebuilding some settings from scratch. Switching from Android to iPhone affects far more than the home screen — messaging, backup habits, and app availability all change. Even same-platform upgrades carry risk if you skip the backup step or rush through setup.
The steps below address both scenarios, but they apply universally: back up first, migrate carefully, verify before wiping.
What you will need
Google One / iCloud (cloud backup)
Creates a complete backup of your phone's data — contacts, photos, app data, and settings — that restores onto the new device during setup.
Google Photos or iCloud Photos
Syncs your camera roll to the cloud independently, providing a second safety net for your entire photo library.
Authenticator app transfer tool
Each major authenticator app has its own export or account-transfer feature; use this to migrate two-factor codes without losing account access.
USB-C or Lightning cable
Enables a direct wired transfer between phones for faster, more complete data migration without relying on Wi-Fi speed.
Step-by-Step Migration Walkthrough
Follow these steps in order. Skipping ahead — especially past the authenticator migration — is the single most common cause of post-upgrade account lockouts.
Migrate Authenticator Apps Before You Wipe Anything
Two-factor authentication apps like Google Authenticator or Microsoft Authenticator store one-time codes locally — they do not sync automatically to a new device. If you factory-reset or trade in your old phone before transferring these codes, you may be locked out of accounts permanently. Follow each app's built-in transfer or export flow, and confirm the new device is working before removing the old one.
Back up your old phone completely
On iPhone, go to Settings → [your name] → iCloud → iCloud Backup and tap Back Up Now. On Android, go to Settings → System → Backup and trigger a manual backup to Google. Wait for the process to complete — do not close the screen or let the phone sleep.
Separately, confirm your photos are synced. Open Google Photos or the Photos app and check that the most recent images show as backed up. For a broader introduction to backup fundamentals, see our plain-language backup guide.
Transfer your authenticator apps
Open each authenticator app on your old phone and look for an account transfer, export, or migration option in settings. Google Authenticator uses Transfer Accounts → Export Accounts; Microsoft Authenticator uses Backup under Settings. On the new phone, install the same app and use the corresponding import flow to pull in all codes.
Test at least two accounts by generating a code and logging in before you proceed. Do not skip this step — it is the most common source of post-migration lockouts.
Power on the new phone and select Restore from Backup
When the new phone boots, follow the setup wizard. At the data-transfer screen, choose Restore from iCloud Backup (iPhone) or Copy apps and data → A cloud backup (Android). Sign in with your Apple ID or Google account and select the most recent backup you just created.
Leave the phone on Wi-Fi and plugged in. App restoration continues in the background after the initial setup completes — it can take 20–40 minutes depending on library size.
Verify contacts, messages, and key app data
Once setup finishes, open your Contacts app and scroll through to spot-check for missing or duplicated entries. Check your most-used messaging apps — SMS history restores via the phone backup, but apps like WhatsApp require their own in-app backup and restore flow (Settings → Chats → Chat Backup on WhatsApp).
Open banking, email, and work apps one by one and log back in. Most apps require re-authentication on a new device as a security measure — this is expected behavior, not an error.
Confirm your photo library is intact
Open your photo app on the new phone and verify recent photos are visible. If you use Google Photos, the library syncs from the cloud and should populate automatically once you sign in. iCloud Photos does the same on iPhone.
For very large libraries (10,000+ photos), full resolution versions download gradually over Wi-Fi — thumbnails appear first. This is normal. For ongoing camera tips that don't require any settings changes, see how to get the most from your new phone's camera.
Wipe and prepare the old phone for trade-in
Only after you've verified data on the new device should you wipe the old one. On iPhone: Settings → General → Transfer or Reset iPhone → Erase All Content and Settings. On Android: Settings → General Management → Reset → Factory Data Reset.
Remove your SIM card before the reset if you plan to keep it. Sign out of your Apple ID or Google account first — this de-registers the device from Find My or Find My Device, which is required for most trade-in programs.
Don't Trade In Your Old Phone Too Quickly
Retail trade-in pressure can push you to hand over your old device the same day you buy the new one. Resist this if you can. Keep the old phone powered on and accessible for at least 48 hours after the migration so you can cross-check apps, pull any missed files, and confirm nothing was left behind.
After the Migration: What to Check in the First 48 Hours
A successful restore doesn't mean the job is done. Spend time in the first two days actively using apps you rely on — streaming services, banking apps, VPNs, and work tools — to surface any re-authentication prompts or missing data before you've returned the old device.
Check Your Cloud Storage Quota First
A backup that fails silently midway is worse than no backup at all. Before initiating any cloud backup, verify that your Google One or iCloud plan has enough free space to hold your current data. If you're close to the limit, either free up space or temporarily upgrade your plan before proceeding.
Notification settings, accessibility preferences, and home screen layouts may not restore exactly as they were. Budget a few minutes to reconfigure them. For a broader look at first-week setup habits, see our guide to the first week with a new smartphone.
If you discover gaps in your data after the fact, check the Syncing & Backup hub for recovery options specific to your platform and account type.

Author
Releases Editorial Team
Releases Editorial Team is the collective byline for our editorial team and contributor network. Articles published under this byline or an editorial pen name are researched, written, and reviewed according to our editorial standards for clarity, consistency, and independence before publication.
View all articles →