
Pairing a New Wearable with Your Phone Without the Frustration
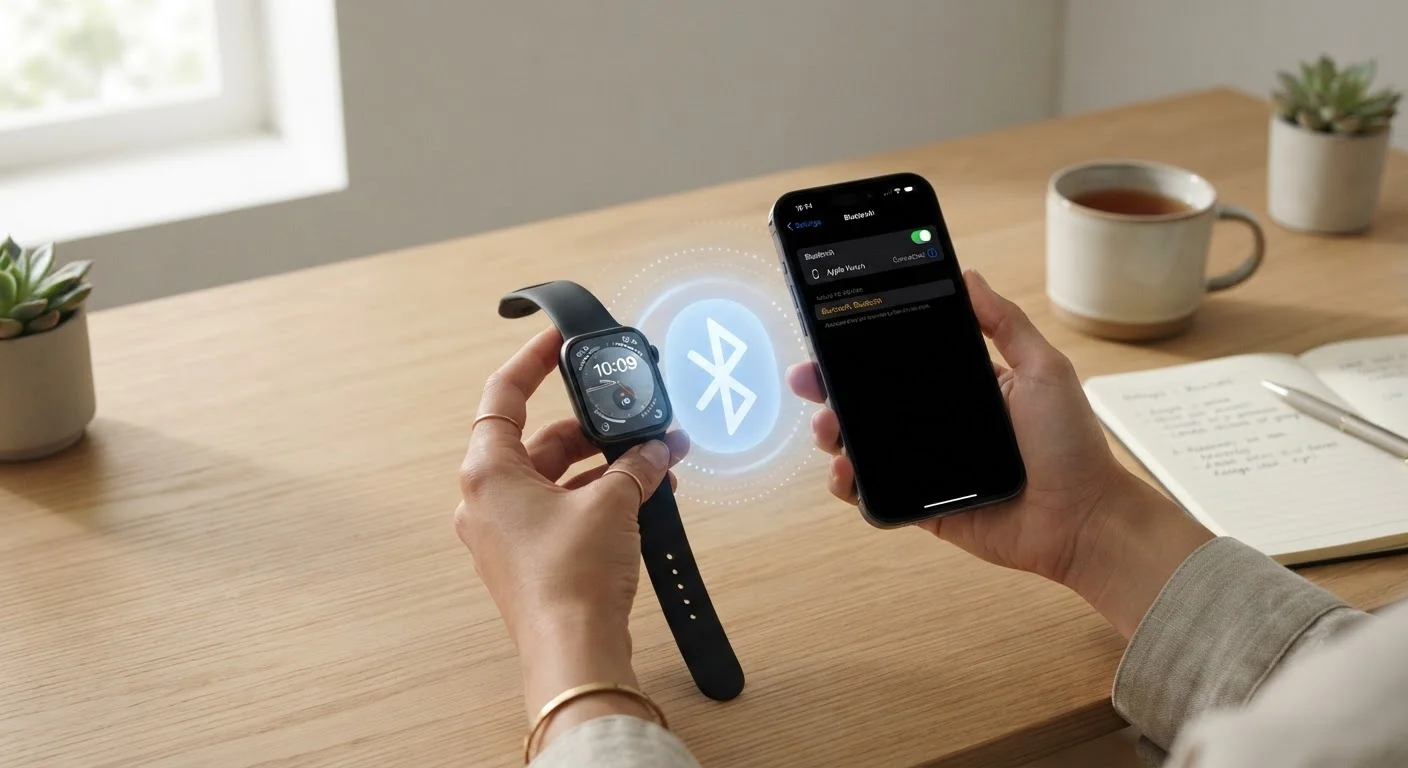
Photo credit: GadgetLite.net | All Things Tech
In this article
Bluetooth pairing, companion apps, and permissions can trip up first-time wearable owners. Follow these steps to get set up smoothly from the start.
Key Takeaways
- Download the companion app before powering on the wearable to avoid pairing failures.
- Bluetooth, location, and notification permissions must all be granted for full functionality.
- Restarting both devices resolves the majority of failed or stuck pairing attempts.
- Firmware updates immediately after pairing protect against bugs and improve reliability.
- One device should be paired to one phone at a time to prevent connection conflicts.
Why Pairing Often Goes Wrong
Bluetooth pairing sounds simple — two devices find each other and connect. In practice, wearables are more demanding than wireless headphones or keyboards. They require a companion app, an account, specific OS permissions, and often a firmware update, all in a particular order. Skip one step or grant permissions out of sequence and you can end up with a device that pairs but doesn't sync, or one that appears connected but delivers no notifications.
If you're new to wearables entirely, the Everyday Person's Introduction to Wearable Tech is a solid starting point before you unbox anything. If you've already chosen your device and want a broader setup checklist, the guide on what to do before you unbox a new gadget covers firmware, privacy, and account security in more detail.
Check Compatibility Before You Begin
Most wearables specify a minimum operating system version — commonly Android 8.0 or iOS 16 and above. If your phone runs an older OS, certain features may not work or the app may not install at all. Check the manufacturer's product page for supported phone models and OS versions before unboxing.
The steps below assume you have a fresh, out-of-box wearable and a compatible phone. Here's what you'll need before you start:
What you will need
What You'll Need
Companion App
Required to complete pairing, configure settings, and enable health and notification sync.
Manufacturer Account
Needed to save health data and restore settings if you switch phones later.
Wi-Fi Connection
Used during setup to download firmware updates and verify account credentials.
With these in place, the process is straightforward for most mainstream wearables. The steps below apply broadly across Android and iOS pairings, though the exact menu labels will vary by brand.
Step-by-Step Pairing Instructions
Download the companion app first
Before you power on the wearable, find and install the official companion app on your phone. Search the App Store or Google Play using the exact device name. Avoid third-party apps with similar names — they won't complete the pairing process and may request unnecessary permissions.
Enable Bluetooth and open the companion app
Turn on Bluetooth in your phone's settings — not just from the quick-toggle panel, as some devices handle permissions differently from the full settings menu. Open the companion app and sign in to your account. The app will prompt you to add a new device.
Power on the wearable in pairing mode
Most wearables enter pairing mode automatically on first boot, indicated by a flashing light or an on-screen prompt. If the device has been previously paired to another phone, you'll need to perform a factory reset on the wearable itself — usually found under the device's Settings menu — to make it discoverable again.
Confirm the pairing code
The app and the wearable will display a matching confirmation code. Verify both numbers match before tapping Confirm or Pair. This step prevents your device from accidentally connecting to a nearby wearable that belongs to someone else.
Grant all permissions when prompted
The companion app will request access to Bluetooth, location, notifications, contacts, and sometimes the microphone or camera. Accept each one. These aren't optional extras — they are functional requirements for features like call alerts, GPS tracking, and voice commands to work correctly.
[important_callout]
Install any firmware updates
Once paired, the app will typically detect whether the wearable's software is current. Accept any available update immediately. Firmware updates fix known bugs, improve battery life, and sometimes enable features that weren't available at launch. The update may take several minutes and requires the wearable to stay nearby and charged.
Configure notifications and preferences
After setup, walk through the app's notification and display settings. Choose which apps can send alerts to your wrist, set your health goals, and adjust the watch face or display timeout. Getting this right at the start prevents a cluttered experience and extends battery life.
Troubleshooting a Pairing That Won't Complete
If the pairing attempt fails or stalls, try these in order before assuming the device is faulty:
- Restart both devices. Power off your phone and the wearable completely, then try again. This resolves the majority of stuck-pairing situations.
- Forget the device in Bluetooth settings. Go to your phone's Bluetooth settings, find the wearable's name, and select Forget or Unpair. Then start from Step 2.
- Clear the companion app's cache. On Android, go to Settings > Apps > > Storage > Clear Cache. On iPhone, delete and reinstall the app.
- Factory reset the wearable. If nothing else works, resetting the wearable and starting from scratch almost always clears the problem.
Avoid Pairing Over Cellular Dead Zones
Some companion apps verify your account or download device firmware during initial setup, which requires a stable internet connection. Starting the process in a spotty Wi-Fi or cellular area can stall the setup mid-flow and sometimes forces a full reset of the wearable.
Once you're set up and comfortable with the basics, it's worth revisiting your phone's overall configuration too. The guide on setting up a new smartphone the right way covers notification management and account settings that directly affect how your wearable performs.

Author
Releases Editorial Team
Releases Editorial Team is the collective byline for our editorial team and contributor network. Articles published under this byline or an editorial pen name are researched, written, and reviewed according to our editorial standards for clarity, consistency, and independence before publication.
View all articles →